
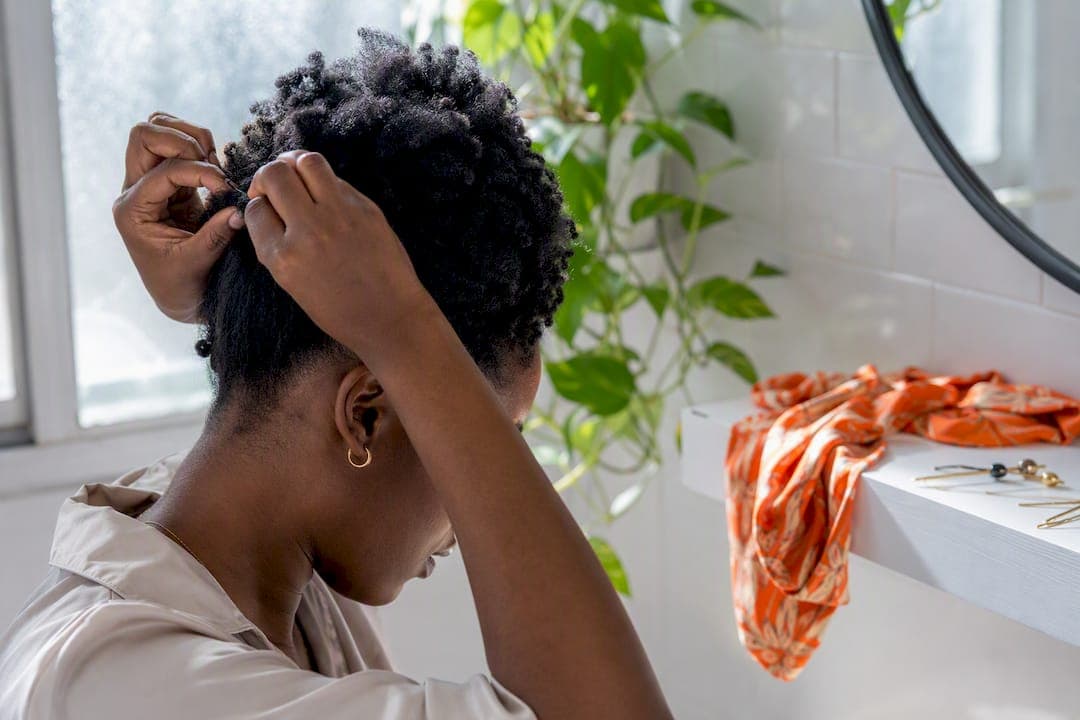
The most reliable natural updo hairstyles are the pineapple/high puff, braided crown, top knot, low bun, boho braided updo, and retro pin-up. Each one solves a different problem. Some protect your ends from friction and heat, some save you extra time in the morning, and some carry you through a wedding without a single touch-up.
- Pineapple/high puff: Fastest option, best for certain hair types that need volume without tension on the edges.
- Braided crown/headband: A protective, low-manipulation choice for medium to long hair (3B to 4A) that wants to look finished with zero heat.
- Top knot/puff: Works on nearly any density, great for gym days or quick errands.
- Low bun/chignon: The most polished everyday look, especially flattering on fine or lower-density hair.
- Boho braided updo: Best for high-density, longer hair that can carry visible texture and movement.
- Retro pin-up: A special-occasion style suited to shorter or medium 4A to 4C hair that wants structure and shine.
Pineapples, braided crowns, and top knots lean protective. Low buns and retro pin-up styles lean toward quick, everyday polish.
Key Takeaways
Natural updo hairstyles protect strands and save styling time when you match the base technique (braid, twist, or puff) to your curl density and keep tension low.
| Point | Details |
|---|---|
| Match style to texture | Use braided or flat-twist bases for high density, pineapples or padding for fine or short hair. |
| Protect at night | Combine a pineapple with a satin scrunchie and satin pillowcase to extend style life. |
| Keep tension low | Loose gathering at the hairline prevents edge damage over repeated styling. |
| Choose lightweight products for fine hair | Gels and mousses hold shape without flattening lower-density strands. |
| Preview before styling | Stylemycrown's virtual try-on lets you test updos on your own photo before committing. |
Table of Contents
- Inspiration Gallery: 8 Natural Updo Styles With Styling Notes
- Six Easy Step-by-Step Natural Updo Tutorials
- How Do You Protect Natural Hair While Wearing an Updo?
- What Tools and Products Do You Need for a Natural Updo?
- How Do You Adapt Updos for Different Textures and Lengths?
- Try-Before-You-Commit: Why Preview Before You Style
- Sources
Inspiration Gallery: 8 Natural Updo Styles With Styling Notes
Natural updos work best when you let your texture do the talking instead of fighting it into a shape it was never built for. That's the whole philosophy behind natural updo styling: softness and a little imperfection usually read as more polished than a perfectly smooth silhouette.
- Pineapple/high puff. Casual, everyday vibe. Add a printed satin scrunchie for a pop of color. DIY.
- Braided crown/headband. Reads professional or bridal depending on how tight you braid it. Add a few gold cuffs along the braid. Salon-ready for intricate cornrow versions.
- Top knot/puff. Casual to athletic. A slim silk scarf wrapped at the base elevates it fast. DIY.
- Low bun/chignon. Polished, office-friendly. Finish with a few loose face-framing layers for softness around Black hair face shapes. DIY.
- Boho braided updo. Festival or bridal energy. Tuck in small florals or beaded pins. Salon-ready.
- Retro pin-up. Editorial, special-occasion. A vintage clip or scarf knot at the crown finishes the look. Salon-ready.
- Afro puffs. Bold, everyday statement. Two puffs with baby hair edges instead of one. DIY.
- Faux hawk/mohawk updo. Edgy, night-out styling. A middle strip of flat twists into a puff at the crown. Salon-ready.
Afro puffs are genuinely versatile updo options, and how protective they stay depends entirely on how you style and maintain them, not the shape itself.
Pro Tip: Keep accessories light. A silk scarf or a few delicate pins will elevate a natural updo without flattening the texture you worked to shape.
Six Easy Step-by-Step Natural Updo Tutorials
These are quick, low-drama, and gentle on your edges. Start on freshly moisturized hair, whether damp or dry, for the best grip.
1. Pineapple tuck (5 minutes). Gather hair loosely at the crown with a satin scrunchie, twist the tail around the base, and tuck it under. Prep: dry hair, light oil on ends. Pro Tip: Don't pull tight at the hairline. Loose tension protects your edges over time.
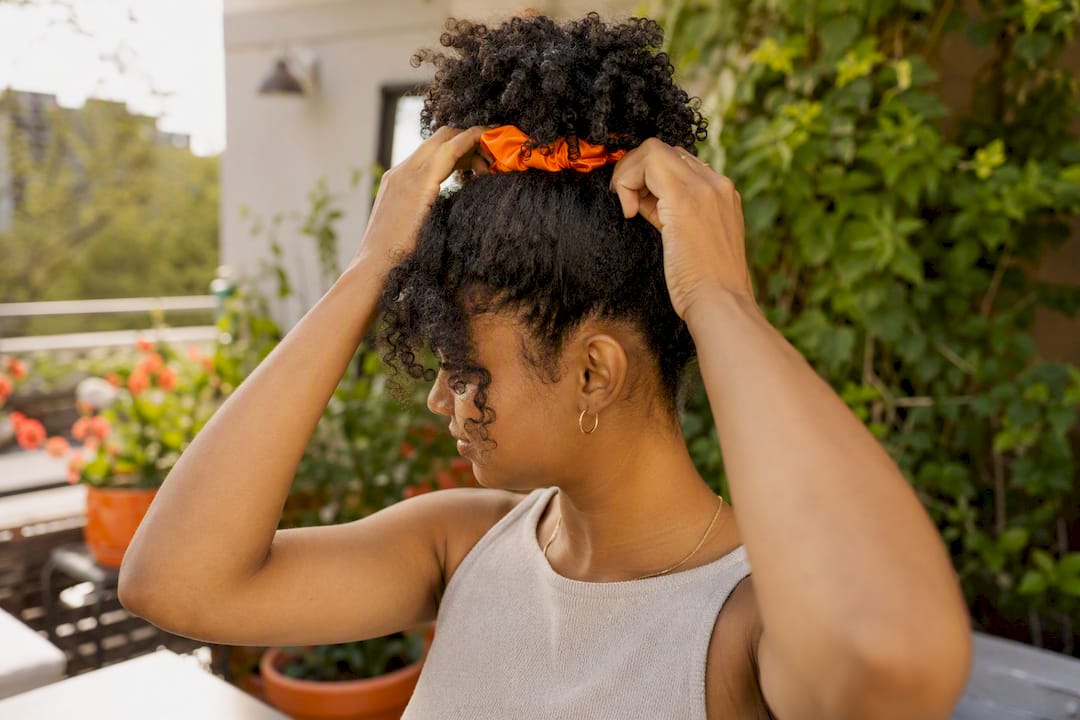
2. Quick textured bun (7 minutes). Finger-coil sections toward the crown, gather into a low or high bun, and secure with bobby pins. Works on wash-and-go curls or twist-outs.
3. Braided headband into low bun (15 minutes). Braid one section from ear to ear across the front, pin it back, then gather the rest into a low bun. This is one of the quick, texture-led updos that hold up well through a full workday.
4. Flat-twist updo (20 minutes). Section hair into rows, flat-twist toward the crown using a moisturizing cream for slip, then pin the ends into a bun. Good prep and moisture keep twists pliable instead of frizzy.
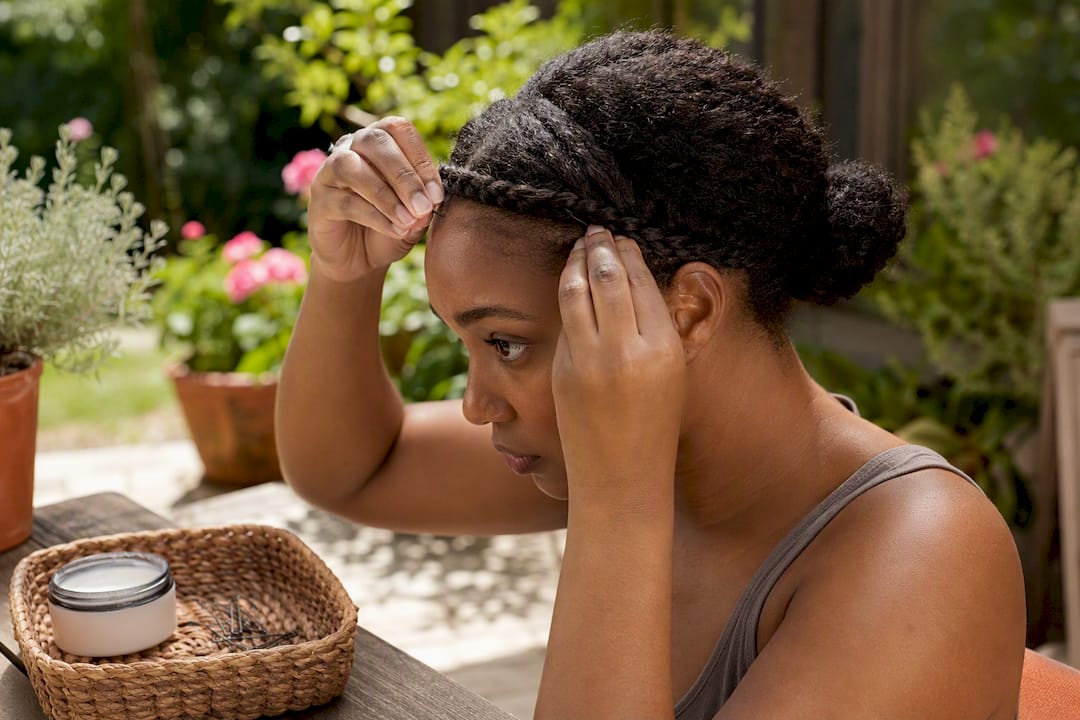
5. Low chignon with tendrils (10 minutes). Smooth hair back with edge control, twist into a low bun, and pull two face-framing pieces loose for softness.
6. Elastic-free twist-up (8 minutes). Two-strand twist sections and pin them up and around each other, no elastic needed, which means less tension overall.
How Do You Protect Natural Hair While Wearing an Updo?
Updos count as protective styling when you do them right, and that's part of why they're worth rotating into your routine year-round; they cut down on the daily heat and manipulation that wears on strands over time, according to updo styling guidance for natural hair.
Do: keep tension low at the hairline, wrap with silk or satin at night using tools like the Davroe CURLiCUE Rapid Dry Hair Wrap, and refresh edges instead of redoing the whole style daily. Don't: reach for heat or harsh gels every single day, and don't leave a tight style in past the point your scalp starts to ache.
Timeline: simple daily styles like a bun or puff typically hold for a couple of days before refreshing. Braided or twisted bases can stretch safely for several days to over a week. Pull a style down sooner if you notice tightness, flaking, or unusual shedding at the part.
Pro Tip: Combine pineappling with a satin scrunchie and a satin pillowcase at night. That single habit prevents the squashing that shortens a style's life and keeps curls defined for days longer.
What Tools and Products Do You Need for a Natural Updo?
You don't need a full salon cart, just the right handful of tools. A satin scarf or scrunchie prevents breakage at the base, snag-free elastics protect strands better than standard rubber bands, and color-matched bobby pins disappear into the style instead of standing out. A wide-tooth comb detangles gently, a rat-tail comb handles clean parts, and a flexible-hold brush smooths edges without ripping through curls.
On products: a lightweight curl cream preps without weighing hair down, flexible gel tames edges, leave-in moisturizer sets the base, a light oil seals ends, and texturizing spray adds grip for slippery strands. If your hair is fine or lower-density, skip the heavy creams. Lightweight gels and mousses hold shape without flattening the volume you're trying to build.
How Do You Adapt Updos for Different Textures and Lengths?
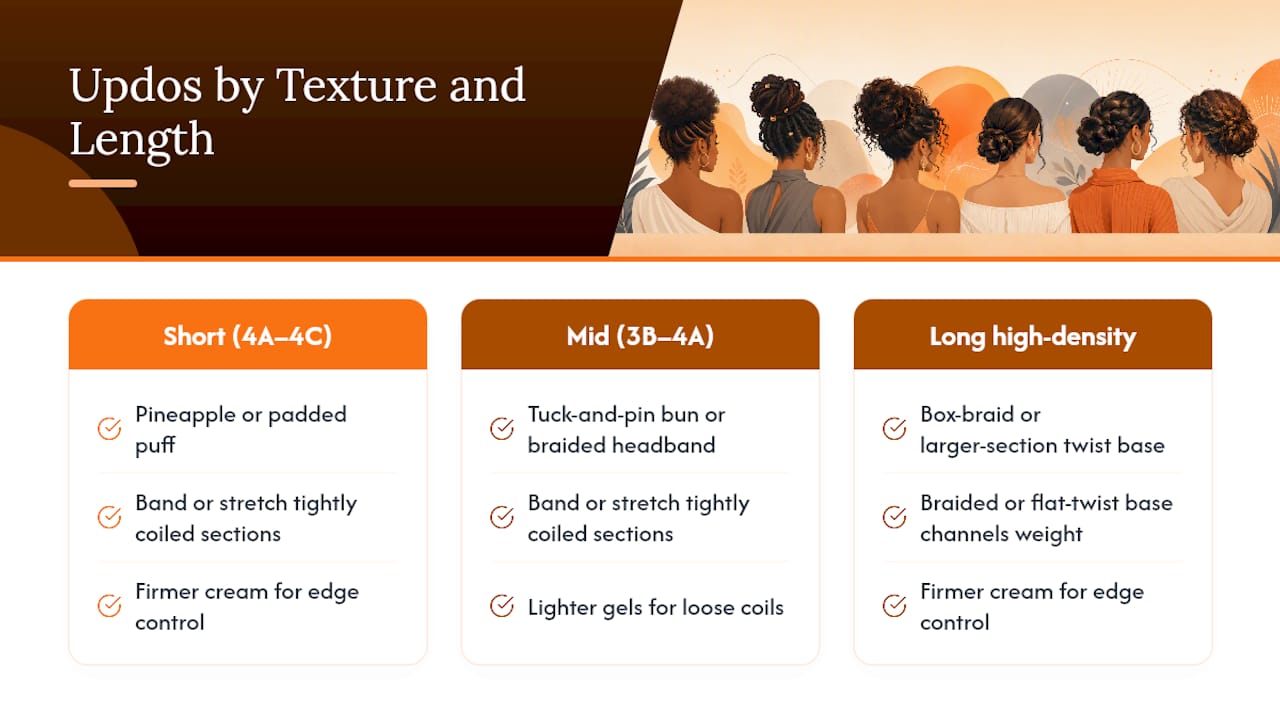
Shrinkage, density, and length all change how an updo behaves, so the same style needs different handling depending on your hair. Band or stretch tightly coiled sections before styling to fight shrinkage. For high-density hair, a braided or flat-twist base channels the weight so curls sit on top instead of sagging by afternoon, a strategy thehairster points to as one of the more reliable structural fixes.
Short hair (4A to 4C): try a pineapple or padded puff for perceived volume. Mid-length (3B to 4A): a tuck-and-pin bun or braided headband works well. Long, high-density hair: a box-braid or larger-section twist base keeps a boho updo from drooping mid-day. Loose coils generally hold with lighter gels, while tighter coils need a firmer cream for edge control.
Try-Before-You-Commit: Why Preview Before You Style
Choosing an updo used to mean guessing, then living with the result until wash day. Virtual try-on tools change that math by letting you see how density, parting, and length actually shape the final silhouette on your own face, before a single strand gets touched.
Seeing a braided crown or a high puff rendered on your own photo, not a stranger's, removes most of the guesswork that leads to a style you regret by lunchtime.
Preview an updo before you book a stylist. Test how a scarf or headband accessory actually looks against your features. Compare a low bun with a side part versus a middle part before committing. Stylemycrown's catalog covers more than 528 curated styles built specifically for textured hair, so the preview reflects your real texture, not a generic model.
A Stylist's Take on Getting Updos Right
The biggest shortcut I give people is this: match your braid width to your density before you touch a single strand. Thicker braids for high-density crowns, thinner ones for fine hair that needs to look fuller. Texture first, style second, every time.
Preview Your Next Updo Before You Commit to It
Choosing between a pineapple puff and a braided crown shouldn't come down to a guess in the mirror or a rushed decision in a stylist's chair. Stylemycrown gives you 10 complimentary credits to preview updos on your own photo first, so you walk into styling day already knowing what actually suits your face and density.
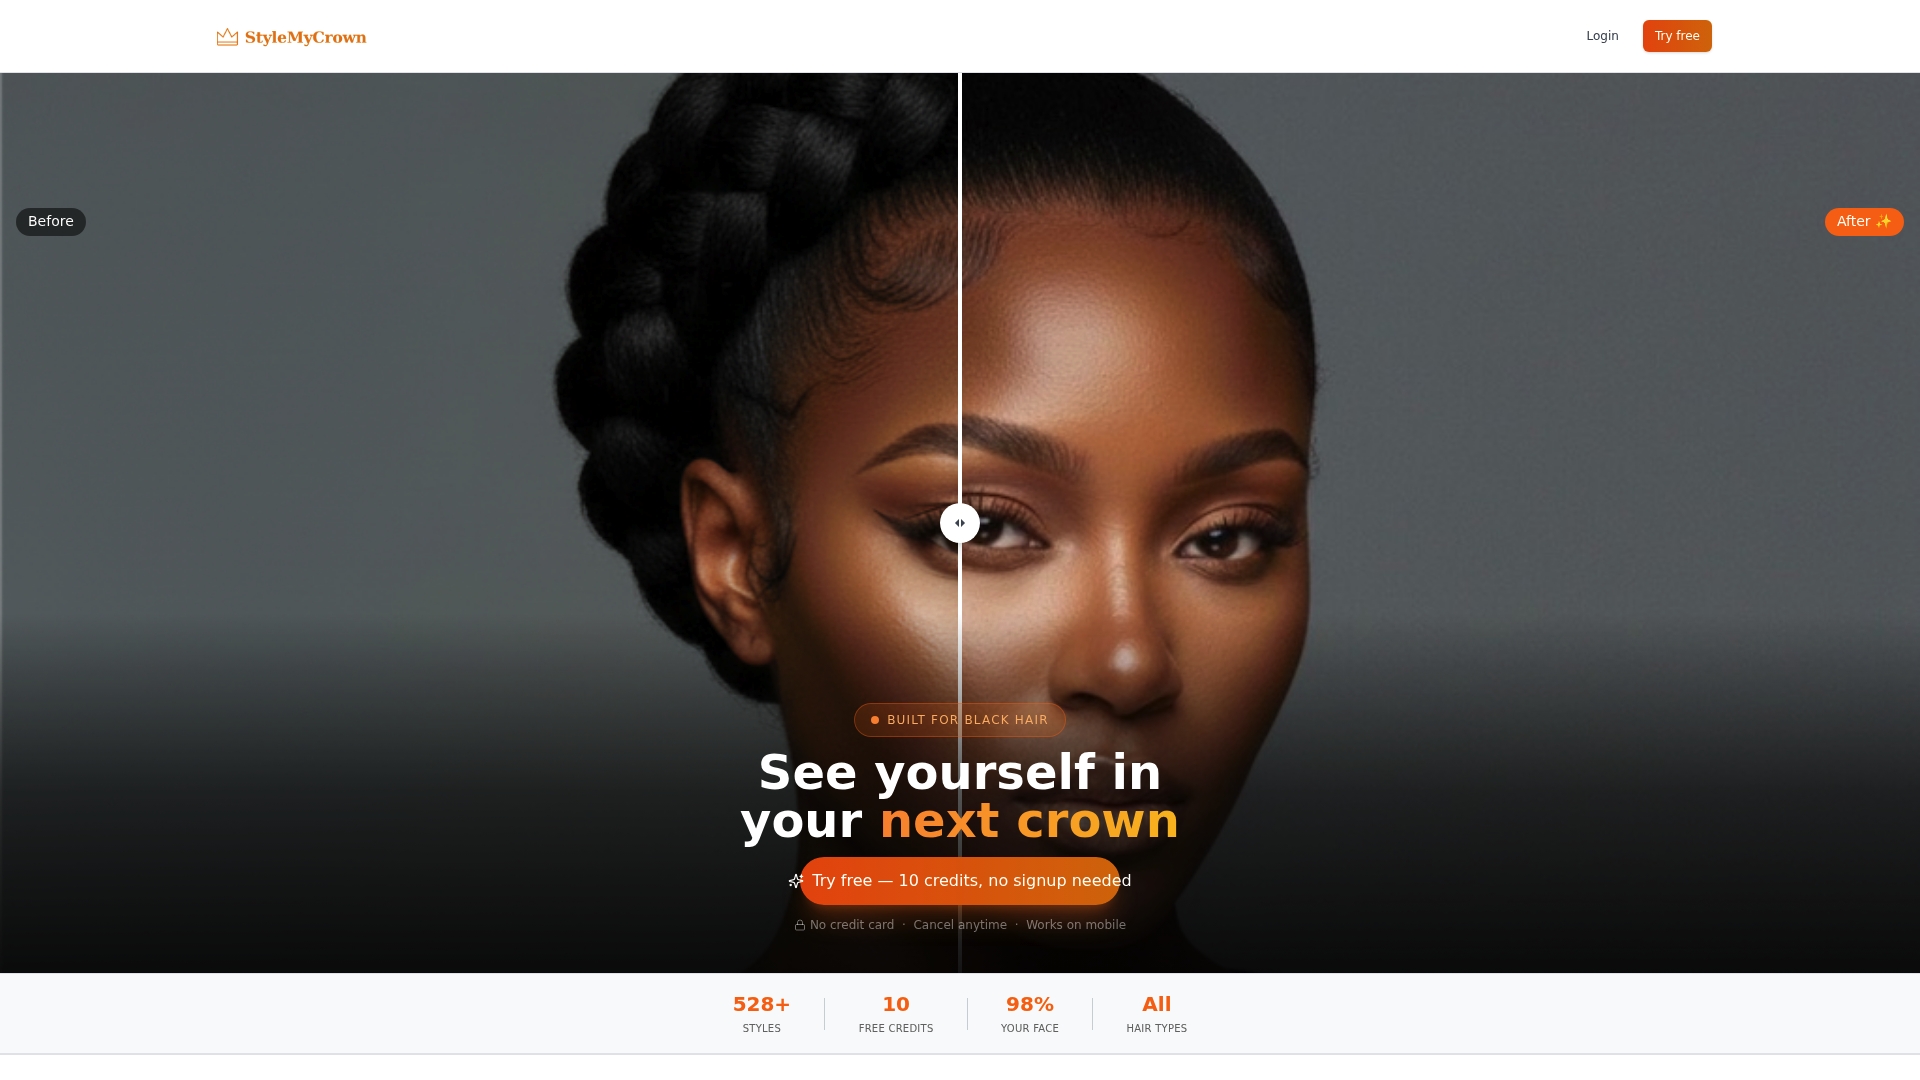
Browse the full style catalog to test pineapples, crowns, buns, and boho updos against your real features, or check the stylist directory when a look calls for a professional hand. The trial credits are for preview only. No subscription required to look around and see what fits.
Sources
- 10 Updo Hairstyles For Natural Hair That Are Easy & Elegant
- What is pineappling? | Garnier USA tips & how-tos
- 16 Natural Curly Updo Hairstyles Led By Texture
- Flat Twist Updo On Natural Hair: A Step-by-Step Guide - ChicSnips
- Mastering Natural Updos: Simple Techniques for Beautiful Hair