
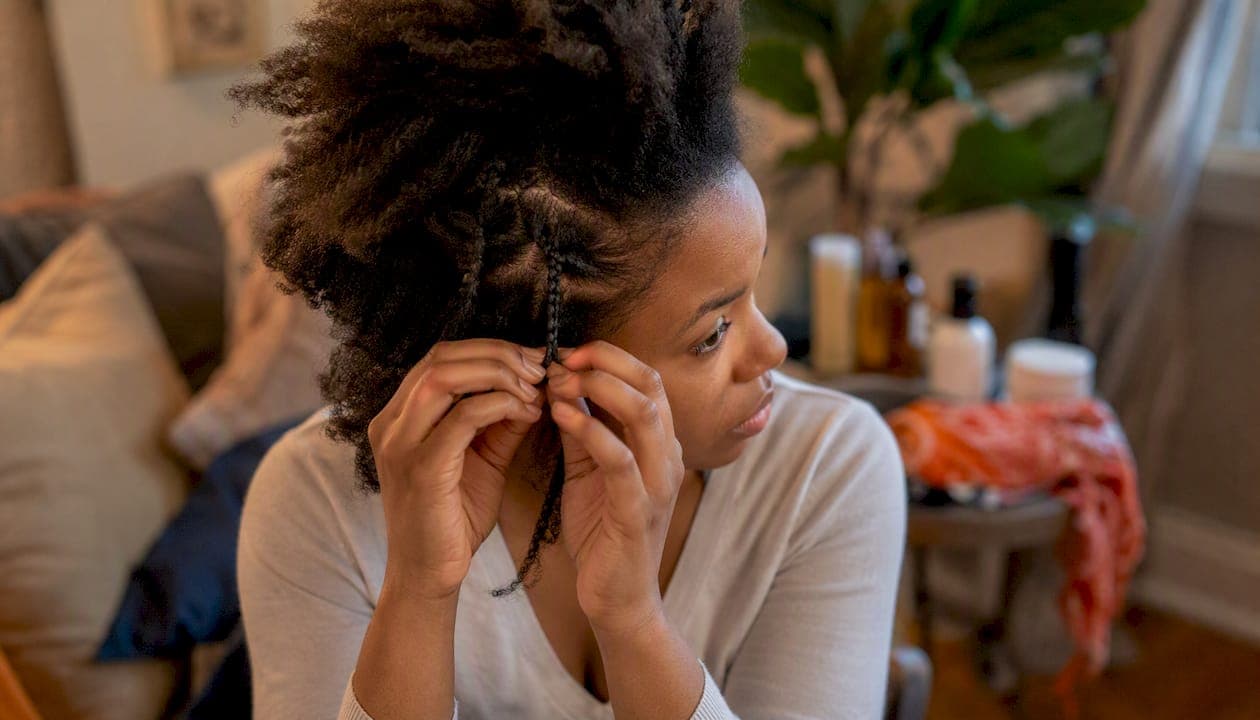
Low-tension styles like two-strand twists, knotless braids, buns, and glueless wigs are the safest, most effective protective hairstyles for natural Black hair because they minimize the daily manipulation and breakage that hold length back. Protective styling doesn't make hair grow faster. It just reduces the breakage that keeps you from keeping the length you already have, and that distinction changes how you should pick a style.
If you're staring down a salon appointment or a Sunday DIY session, here's where to start:
- Two-strand twists — best for regrowth, edges recovering from tension, and anyone who wants a style they can do themselves.
- Knotless braids — best for type 4 hair and longer wear, since the root isn't looped tightly at installation.
- Buns and updos — best for short-term protection, humid weather, or days you need zero fuss.
- Glueless wigs — best for fragile edges, alopecia recovery, or anyone who wants a break from tension entirely.
Before you book anything: check for pain at the hairline (there shouldn't be any), deep condition the week before install, and pack a satin bonnet or pillowcase for nightly protection. Skip anything that pulls, avoid extensions heavier than your natural hair can support, and plan to take the style down before the eight-week mark.
Key Takeaways
Low-tension styles like two-strand twists, knotless braids, and glueless wigs protect natural Black hair best, and wear time beyond eight weeks raises real risk regardless of style.
| Point | Details |
|---|---|
| Start low-tension | Choose twists, knotless braids, or glueless wigs first, especially if edges need recovery time. |
| Never install through pain | Pain or numbness at install is an early sign of traction alopecia risk, not something to push through. |
| Respect wear-time windows | Keep twists to 2 to 4 weeks and braids with extensions to 4 to 8 weeks before removal. |
| Protect nightly | Wear a satin bonnet or sleep on a satin pillowcase every night to reduce friction damage. |
| Rest between installs | Give your scalp a short break between long protective styles rather than moving straight into the next one. |
| Preview before committing | Use Stylemycrown's virtual try-on catalog to test a look against your own face and hair before booking or DIY-ing an install. |
Table of Contents
- Protective Hairstyles for Black Hair, Grouped by Category
- How Do You Choose the Right Protective Style?
- Prep and Maintenance for Long-Term Protective Styles
- Three Quick Protective Style Tutorials You Can Try at Home
- The Real Risks: Traction Alopecia and Other Common Mistakes
- How Long Should You Keep a Protective Style In?
- Try Styles First: Virtual Try-On for Black Hair
- What I'd Prioritize If It Were My Hair
- Preview Before You Commit With Stylemycrown
- Sources
Protective Hairstyles for Black Hair, Grouped by Category
Every protective style falls into one of five families, and knowing which family you're choosing from tells you almost everything about maintenance, wear time, and edge risk before you sit in the chair.
Braids. Box braids, knotless braids, and cornrows all fall here. Knotless braids have become the default recommendation among stylists because the technique starts with your natural hair instead of a tight knot at the root, which distributes tension more evenly. The tradeoff: knotless takes longer to install and can cost more.
Twists. Two-strand twists, flat twists, and Senegalese twists are lower commitment and lower tension than braids with extensions. They're also the easiest category to do on yourself, which matters if salon visits aren't in the budget every few weeks.
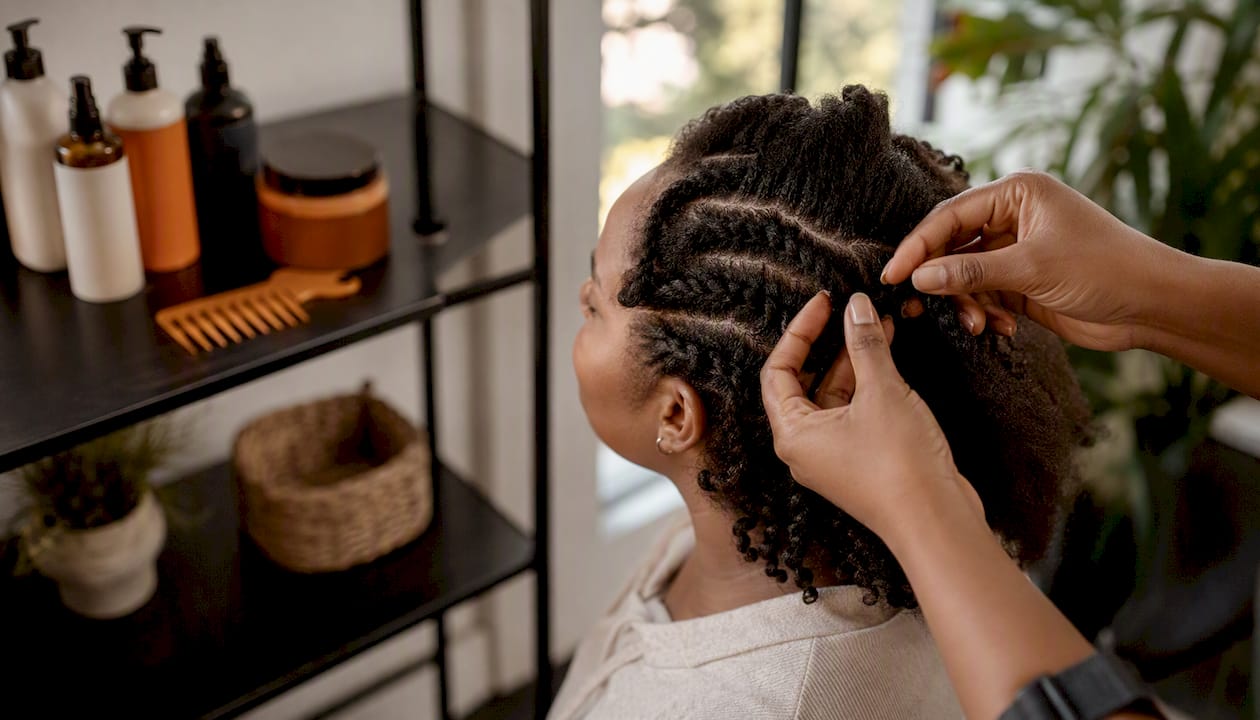
Locs. Faux locs and starter locs offer the longest wear time of any category, but they're also the heaviest style option if extensions are involved, and heavy locs on fine or fragile hair can create the exact tension problem you're trying to avoid.
Updos. Buns, chignons, and bantu knots are the short-term workhorses. No extensions required, no weeks-long commitment, and they double as heat-free styling for a wash day gone long.
Wigs and weaves. Glueless wigs in particular have become popular precisely because they remove tension from the equation almost entirely. Your natural hair gets cornrowed flat or left loose under a cap, with zero pulling at the hairline.
| Category | Typical wear time | Edge risk if done correctly | Main caution |
|---|---|---|---|
| Twists | 2–4 weeks | Low | Can loosen and frizz faster in humidity |
| Braids (with extensions) | 4–8 weeks | Low to moderate | Risk rises with extension weight and small parts |
| Locs (faux/starter) | 6–8+ weeks | Moderate | Heaviest option; watch for scalp tension over time |
| Updos/bantu knots | Days to 1-week | Low | Repeated tight pulling if worn daily without variation |
| Wigs/weaves (glueless) | Variable, often 2–6 weeks | Low | Cap tension at the perimeter if sized too small |
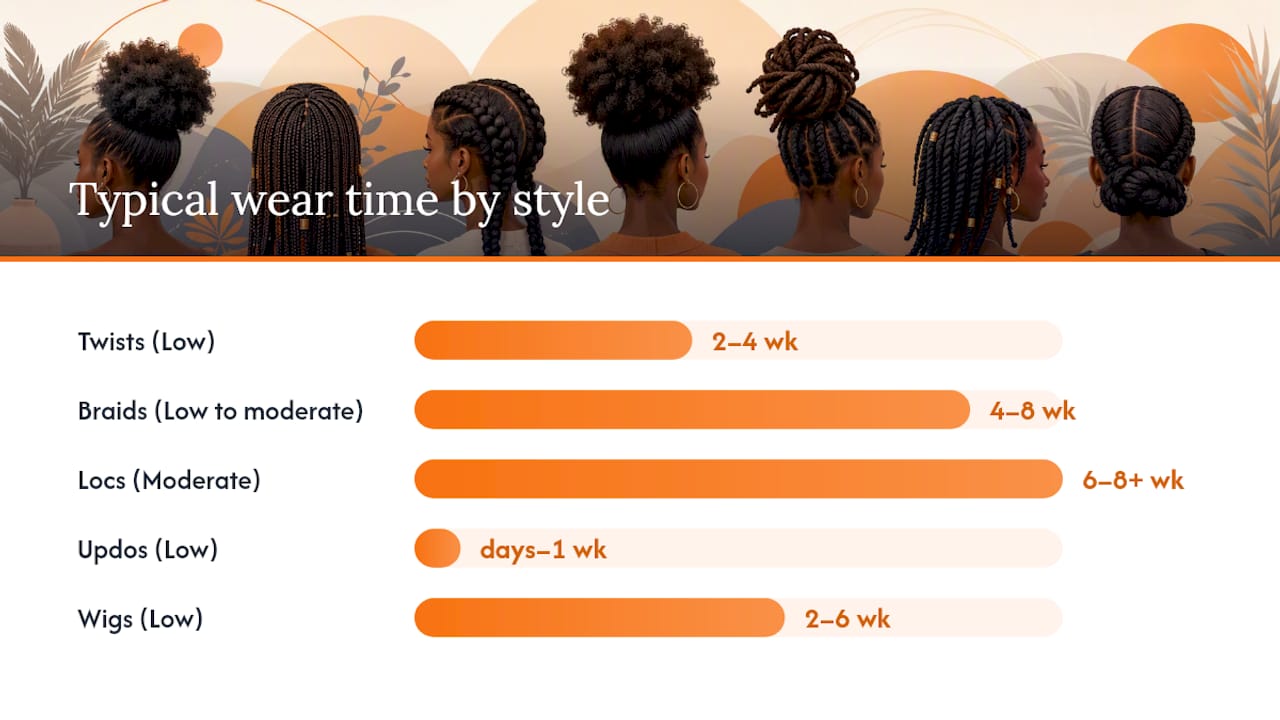
Wear-time guidance here tracks what most stylists and hair-health guides recommend: twists in the shorter range, braids extending further out, and anything past eight weeks trending riskier regardless of category.
How Do You Choose the Right Protective Style?
The right style depends on four things: your hair's current length, how healthy your edges are right now, how much time you can give a salon appointment, and how often you need to get at your scalp to moisturize it.
Start with an honest edge check. If your hairline has any thinning, redness, or flat patches from a previous style, skip anything with root tension for now. Two-strand twists, flat twists, or a glueless wig over cornrows let your edges recover while you're still protected.
Next, think about scalp access. Fine hair and dry scalps both do better with styles that let you get a spray bottle or oil applicator to the roots without unraveling the whole look. Twists and loosely done braids both allow this; heavily glued or sewn-in styles usually don't.
Before you commit, ask your stylist three questions:
- What tension level are you using at the root, and can you go lighter?
- What's the weight of the extension hair, and does it match what my hair can hold?
- How long should this style realistically last before I need to take it down?
Watch for warning signs during install itself. Pain, numbness, visible flaking, or a stylist reaching for extension hair that already feels heavy in your hand are all reasons to pause and ask for adjustments before the first braid goes in.
Pro Tip: Bring a photo of the parting size and tension you want. Saying "not too tight" leaves room for interpretation. Showing a reference photo of loose, visible scalp between parts gets you closer to what you actually mean.
Prep and Maintenance for Long-Term Protective Styles
The install is only half the work. What you do in the two weeks before and the weeks during wear determines whether the style protects your hair or quietly damages it.
Before you install:
- Clarify wash to remove product buildup from your natural hair.
- Deep condition for at least 20 minutes under heat if you have access to it.
- Trim split ends so they don't get sealed into the style and worsen.
- Apply a light leave-in conditioner to damp hair.
- Seal your ends with a lightweight oil before they get tucked away or braided in.
Skipping the deep condition step is the most common shortcut people take, and it's the one that costs the most. Hair that goes in dry and undernourished stays that way for weeks under the style.
While you're wearing it, your maintenance routine doesn't stop. It just changes shape:
- Do a diluted shampoo or scalp refresher every one to two weeks to remove sweat and buildup.
- Apply a lightweight, non-comedogenic oil like grapeseed or jojoba directly to the scalp, not just the braids.
- Moisturize the visible hair with a water-based spray, not just oil, since oil alone doesn't add hydration.
- Pick out lint or shed hair caught in braids or twists before it mats.
- Sleep in a satin bonnet or on a satin pillowcase every single night.
Product choice matters more during protective styling than almost any other time. Sulfate-free cleansers, lightweight leave-ins, and oils without heavy silicones keep buildup from turning your low-maintenance style into a matted mess by week four.
Three Quick Protective Style Tutorials You Can Try at Home
Two-strand twists. Section clean, damp hair into four to six parts. Apply a leave-in and a small amount of curling cream or twisting butter to each section. Take a small subsection, split it into two strands, and twist them around each other from root to tip. Repeat across your head, working in sections. Expect 45 minutes to 2 hours depending on hair length and part size. This is the most forgiving style for a first attempt, since a twist that comes out uneven can just be redone.
Flat twists. Part a clean section of hair close to the scalp. Take two small strands at the root and twist them flat against your head, picking up new hair with each turn, similar to a cornrow but with a twisting motion instead of a braid. Continue to the ends, then twist the remainder as a regular two-strand twist or pin it under. Budget 1 to 3 hours for a full head. Flat twists are the go-to style for anyone whose edges need a break from braiding tension since the flat, root section stays close and controlled without pulling.
Knotless braids. This one is best left to a stylist or a very patient friend. The technique starts with your own hair braided a few inches down before extension hair is fed in gradually, rather than knotted at the root from the start. A full install typically runs 4 to 8 hours depending on size and length. Ask specifically for a "knotless" technique by name. Some stylists will braid tightly and call it knotless just because no visible knot sits at the root. What matters is whether your hair is being fed in gradually, not just whether there's a knot.
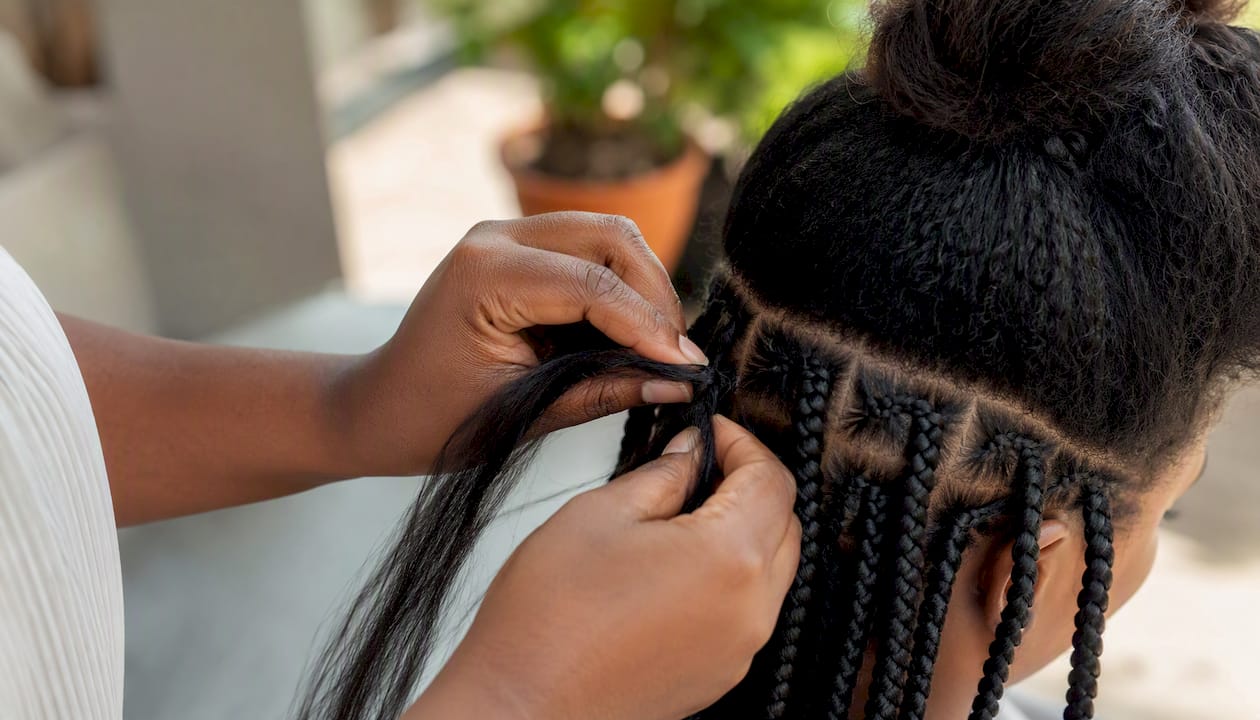
Extensions are optional for all three styles. Adding hair extends wear time, since your natural hair grows out more slowly relative to the braid, but it also adds weight, and weight is what turns a low-tension style into a high-tension one over time.
Pro Tip: At installation, ask your stylist to braid a section on your arm first if you're unsure about tension. If it hurts on your arm, it will hurt on your scalp. This single test catches more overly tight installs than any verbal instruction.
The Real Risks: Traction Alopecia and Other Common Mistakes
Traction alopecia is hair loss caused by sustained pulling at the follicle, and it's the single biggest risk tied to protective styling done wrong. It happens gradually. A style that feels fine on day one can be quietly damaging follicles by week three if the tension was too tight from the start.
Early warning signs to watch for:
- Scalp pain or soreness that lasts more than a day after install
- Small bumps or pimples along the hairline
- Visible thinning or a receding pattern at the temples and edges
- Hair that comes out at the root, not just the shaft, when you brush
Traction alopecia is considered largely preventable, and tension at the point of installation is the primary driver behind it according to dermatology sources. Catching the early signs before permanent follicle damage sets in is what separates a scare from a real setback.
The mistakes that lead here are almost always the same handful, repeated:
- Leaving a style in well past the recommended window because it's "still holding up"
- Choosing extension hair heavier than your natural strands can support
- Installing with braids or twists starting directly at the hairline instead of a margin back
- Using harsh edge control gel daily to slick down baby hairs already under tension
- Skipping scalp cleansing for the entire duration of a six-week style
Avoiding all of this comes down to a few concrete habits: ask your stylist to start braids about an inch from your natural hairline, alternate tight-adjacent styles with genuinely low-tension ones like twists or wigs, give your scalp a rest week between long installs, and see a dermatologist or trichologist the moment thinning looks like more than normal shedding.
How Long Should You Keep a Protective Style In?
Wear time isn't one-size-fits-all, but the ranges are consistent enough across stylists and hair-health sources to plan around.
- Twists (two-strand, flat, or Senegalese) generally last 2 to 4 weeks before they loosen or frizz enough to need redoing.
- Braids with extensions, including box braids and knotless styles, typically hold for 4 to 8 weeks, with risk for matting, buildup, and rising tension from new growth increasing the closer you get to that upper limit.
- Wigs and weaves vary the most, often lasting 2 to 6 weeks depending on install method, but glueless options can be removed and reinstalled far more often without added risk.
- Updos and bantu knots are short-term by nature, usually a few days to a week before they need refreshing.
When it's time to take a style down, do it slowly:
- Saturate the style with a slip-heavy conditioner or oil to loosen tension before you start unraveling anything.
- Unravel twists or braids by hand, working from the ends up, rather than pulling from the root.
- If extensions are matted or tangled, snip them carefully rather than yanking, which pulls on your natural hair underneath.
- Detangle slowly with a wide-tooth comb and plenty of conditioner, sectioning as you go.
- Deep condition immediately after full removal since your hair has gone weeks without a proper hydration treatment.
Give your scalp a short rest between long installs, even just a week of wearing hair loose or in a simple bun. And if you spot damaged ends during detangling, trim them before the next style goes in. Sealing split ends into another six weeks of braiding only makes the eventual breakage worse.
Try Styles First: Virtual Try-On for Black Hair
Committing to a six-week install sight unseen is a real gamble, and it's one of the more avoidable mistakes people make with protective styling. Seeing a style on your actual face and hair length, before a single braid gets installed, removes most of that guesswork.
A virtual try-on tool built specifically for Black hair textures lets you:
- Preview length, parting style, and color options before spending a single dollar on extensions
- See how a shape sits against your face shape and features, not a generic model
- Compare two or three finalists side by side instead of guessing from a stylist's portfolio photos
- Skip the buyer's remorse of a style that looked great on someone else but doesn't suit you
The practical flow looks like this: browse a catalog, shortlist two or three looks you're drawn to, check the realistic maintenance timeline for each against your own schedule, then take that shortlist to your stylist or start the DIY tutorial for whichever one you choose.
Pro Tip: Virtual preview tells you what a style will look like. It doesn't replace the tension conversation. Still ask your stylist about installation tension and extension weight once you've picked a look, since even the right shape can go wrong if it's installed too tight.
What I'd Prioritize If It Were My Hair
If I had to boil down every piece of guidance in this article into one rule, it would be this: choose the lowest-tension option that still gets you the look you want, every single time. Not the trendiest style. Not the one with the longest wear time. The one that pulls the least.
That's an unpopular stance in a beauty culture that treats eight-week install marathons as a badge of low-maintenance efficiency. But scalp health doesn't care how convenient a style is. It cares how much sustained pulling your follicles absorb, and that math doesn't change no matter how good the finished look is in photos.
Protective styles done right function as rest for your hair, not just a hiding place for it. That distinction only holds if you're honest about tension at install, disciplined about scalp access during wear, and willing to take a style down before it turns from protective into damaging. Aesthetics matter. Nobody's suggesting otherwise. But they come second to whether your edges are still there in a year.
Alternate your looks. Give your scalp real rest between long installs. And don't let a good hair day at week seven talk you into skipping week eight's takedown.
Preview Before You Commit With Stylemycrown
Guessing whether a style will suit you is the most avoidable risk in this entire process, and it's the one Stylemycrown was built to remove. Instead of flipping through a stylist's portfolio and hoping a look translates to your face and hair texture, you can preview it on yourself first, using augmented reality trained specifically on Black hair textures and features.
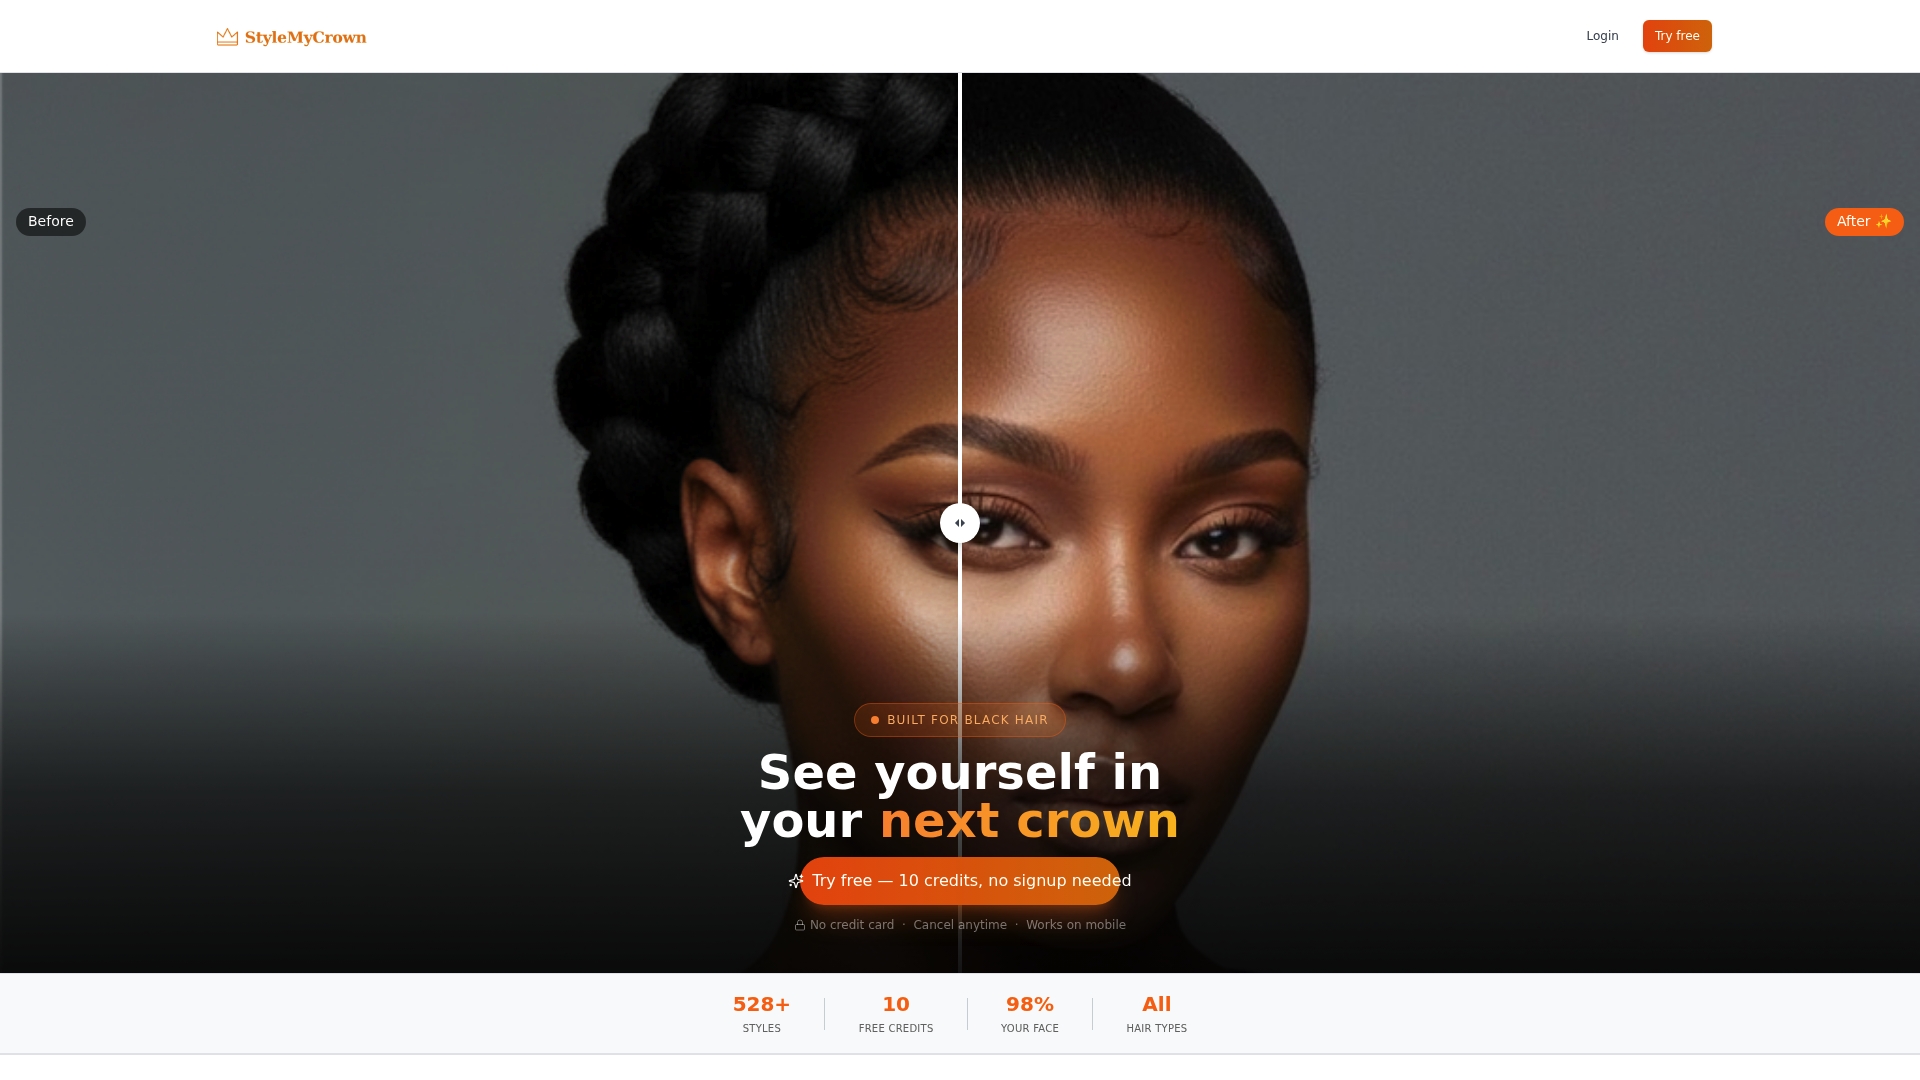
Stylemycrown's style catalog includes more than 528 curated looks across braids, twists, locs, updos, and wigs, all built for the range of textures and face shapes that generic hair apps tend to overlook. New users start with 10 complimentary credits, enough to try several shortlisted looks before deciding on anything. If a style earns your approval, you can move straight to the stylist catalog to find someone to install it, or take it into your own DIY session with a clear picture of what you're aiming for. Browse the catalog and use your free credits to preview your next protective style before you book a single appointment.
Sources
A few sources go deeper on specific pieces of this guidance if you want more detail before your next install.
- Protective Hairstyles: Types, Benefits, and Finding a Stylist
- These Are The Best End-of-Summer Protective Styles & Tips - Essence
- Types of protective hairstyles: a complete guide for textured hair – Edge Naturale
- Protective styles to try for Black hair - Byrdie