
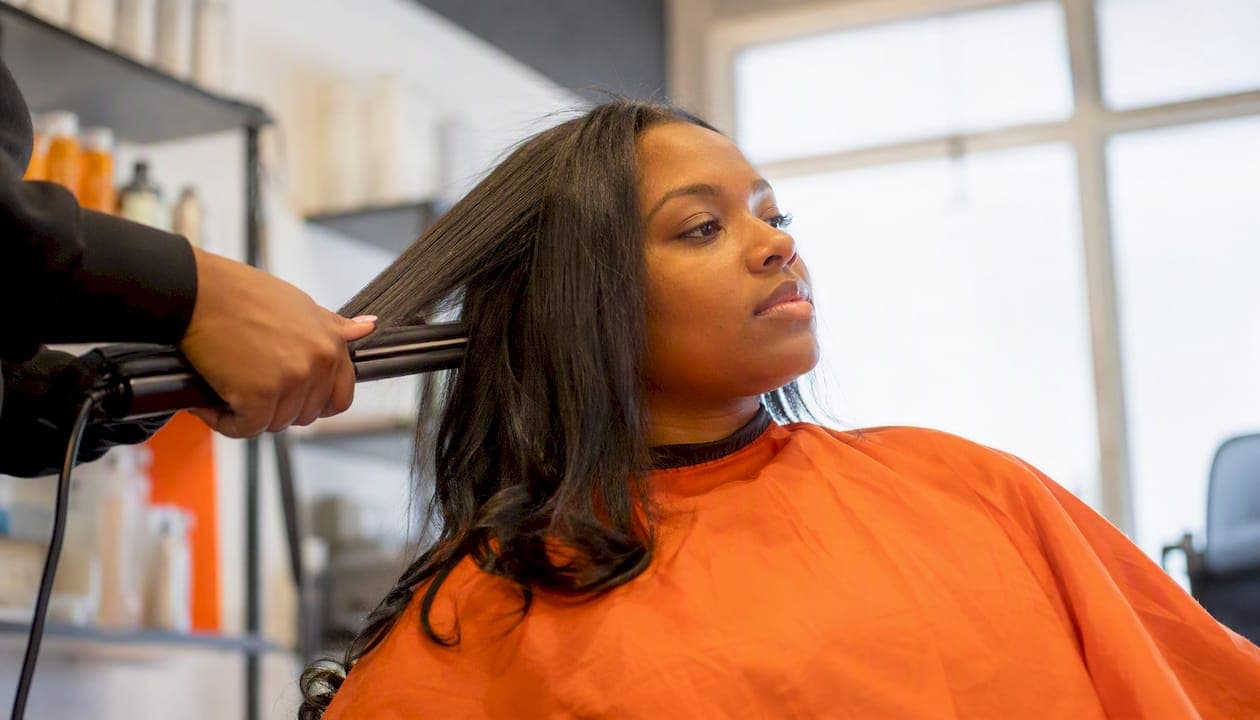
The best silk press styles for Black hair right now are the classic bone-straight press, the bumped-ends bob, curtain bangs, and a voluminous curled finish. All four come down to one process: cleanse, deep-condition, apply leave-in and heat protectant, blow-dry with real tension, then finish with one or two flat-iron passes per small section. That is the whole method. Everything else is texture-specific detail.
We built this guide with the same philosophy behind Stylemycrown's virtual try-on tool: preview before you commit heat to your strands. Stylist Al Campbell built his technique around small, deliberate sections rather than speed, and the American Academy of Dermatology has long warned that repeated high-heat contact is the leading driver of thermal damage in textured hair. Keep both in mind as you plan your next press.
- Classic bone-straight silk press — sleek, glass-like finish from root to end
- Bumped-ends bob — shoulder-grazing length with a soft curve at the bottom
- Curtain bangs with a silk press — face-framing pieces over a straight base
- Voluminous curled silk press — straight roots with loose curls or waves through the mid-lengths to ends
Key Takeaways
A salon-quality silk press depends on a strong blowout, texture-matched heat settings, and consistent nighttime protection more than on the flat iron itself.
| Point | Details |
|---|---|
| Prioritize deep-conditioning | Condition 24 to 48 hours ahead to reduce breakage and cut down on flat-iron passes. |
| Perfect the blowout | A high-tension blow-dry with a paddle brush does most of the smoothing work before the iron touches hair. |
| Match heat to texture | Start at the low end of your texture's heat range and only increase if needed. |
| Protect it overnight | Wrap or pin-curl and use satin or silk to stretch a press past the one-week mark. |
| Preview before you press | Stylemycrown's virtual try-on lets you test styles like curtain bangs or a bumped-ends bob before committing any heat. |
Table of Contents
- Popular Silk Press Hairstyles for Black Hair and Who They Suit
- How Do You Do a Silk Press Step by Step?
- How Long Does a Silk Press Last?
- What Products and Tools Do You Need for a Salon-Quality Silk Press?
- What Are the Most Common Silk Press Mistakes?
- Can You Preview a Silk Press Style Before You Heat-Style?
- Recommended Silk Press Styles for Natural vs. Chemically Treated Hair
- Author Note: Balancing Inspiration With Long-Term Hair Health
- Try Silk Press Looks Risk-Free With StyleMyCrown
- Sources
Popular Silk Press Hairstyles for Black Hair and Who They Suit
Not every silk press style works for every head of hair, and that is the part most tutorials skip. Density, length, and how your hair holds a curl all decide whether a look will last three days or two weeks.
Classic silk press. This is the bone-straight, shine-forward look most people picture when they hear the term. It suits medium to high density hair and works on nearly any length past chin level. The payoff is versatility: a classic press takes a claw clip, a low bun, or a middle part without extra styling.
Bob with bumped ends. Cut or styled to hit around the jaw or collarbone, this look gets its personality from the ends, which curl either inward (bumped) or outward (flipped) using a large-barrel iron or Velcro roller at the finish. It flatters fine to medium density hair especially well, since shorter length reduces the weight that pulls curls out. Flipped ends photograph more editorial; bumped ends read softer and more everyday.
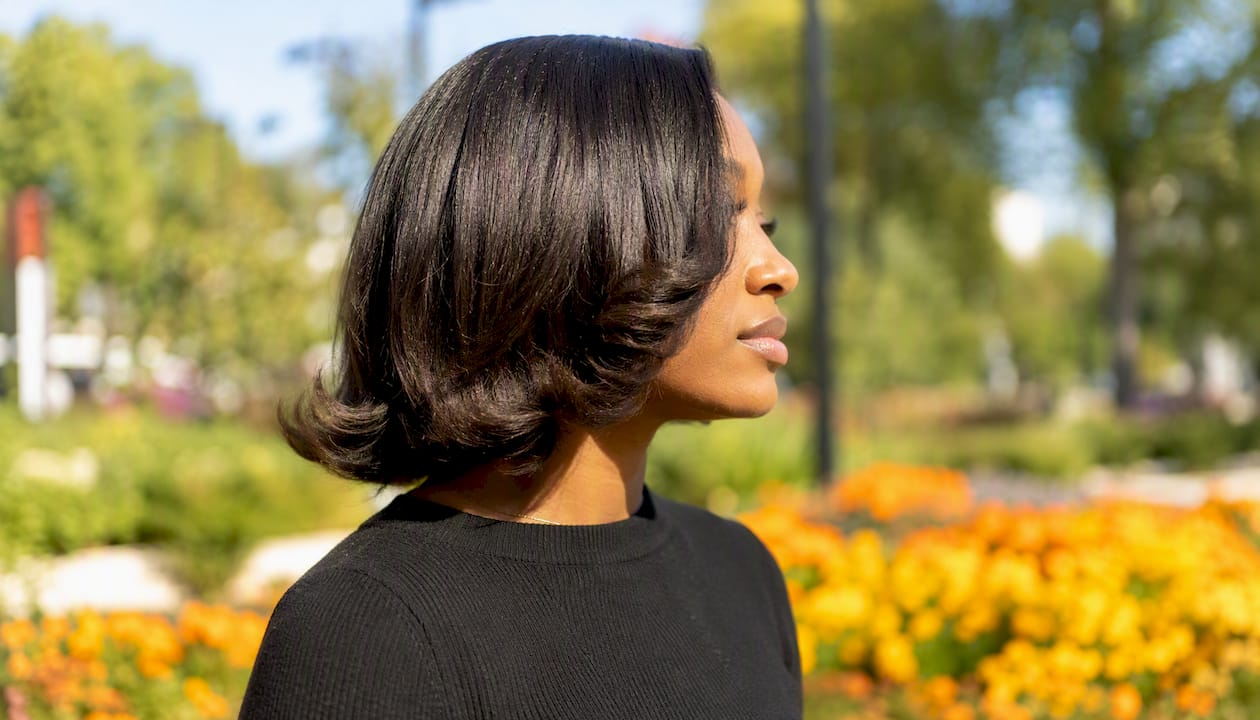
Long layers with curtain bangs. If you have longer hair and want dimension without cutting length, curtain bangs parted around the face add movement while the rest stays sleek. This style suits round and square face shapes particularly well, since the parted fringe softens angles.
Silk press with soft curls or waves at the ends. Straight through the crown and roots, then curled from mid-shaft down with a 1 inch iron or flexi-rods. It suits thicker, coarser textures that hold curl well once smoothed, and it hides the first signs of humidity reversion better than a fully straight finish does.
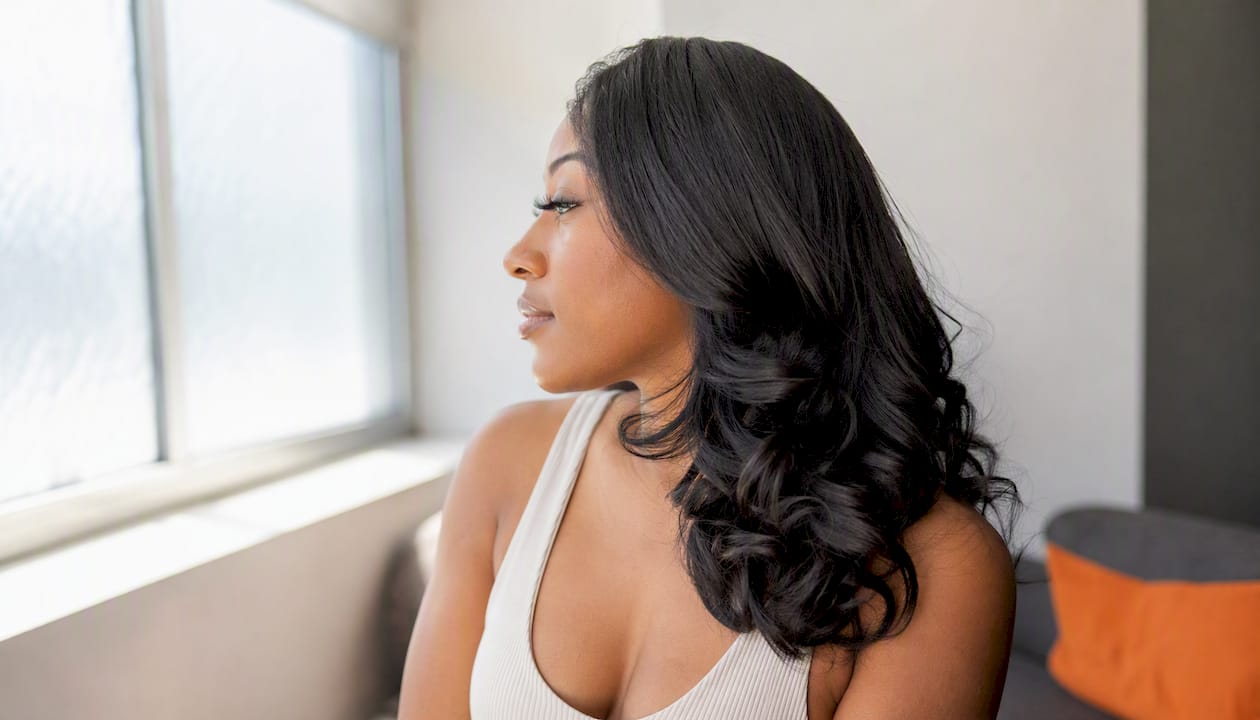
High-volume middle or side part. Achieved by blow-drying with maximum root lift and finishing with a boar-bristle brush for shine, this works best on medium density hair. A side part reads more dramatic; a middle part looks more polished for daily wear.
Short textured lob. For hair cut above the shoulders, a slightly undone, textured finish keeps a silk press from looking stiff. It suits fine density hair, where full bone-straightness can sometimes look flat rather than sleek.
Stylist Kim Kimble has long favored versatility in her red-carpet work, building presses that hold a curl or a straight style depending on the event. That flexibility is worth aiming for at home, too.
Pro Tip: Pick a style that matches how you'll actually wear your hair week to week. A bumped-ends bob that you re-wrap every night lasts far longer than a bone-straight style you sleep on carelessly, which means fewer retouches and less repeated heat exposure over a month.
How Do You Do a Silk Press Step by Step?
The sequence that produces a salon-quality result is prep, blow-dry, press, finish, in that exact order, and skipping or rushing any one of them is where most damage happens.
- Cleanse and clarify. Wash with a shampoo built to remove product buildup and natural oils. Skipping this step leaves residue that interferes with even heat distribution and can leave hair dry and brittle after styling, according to StyleCraze.
- Deep-condition. Apply a moisture or protein-based mask 24 to 48 hours before your press, or the same day if that timeline does not work for you. Davines notes this step replaces moisture that high heat will otherwise pull from the strand, and it is the single biggest factor in how few flat-iron passes you'll need later.
- Apply leave-in and heat protectant. Work both through damp hair from ends to roots before you touch a blow dryer. Never press hair that is still wet or even slightly damp.
- Detangle thoroughly. Start at the ends and work upward in small sections so you are not fighting knots mid-blowout.
- Section strategically. Divide hair into four to six sections for blow-drying, then break those down further, into quarter-inch to one-inch pieces depending on density, when you get to the flat iron. Al Campbell's technique relies on these small sections to get even tension and a cleaner result.
- Blow-dry with tension. Use a high-velocity dryer with a concentrator nozzle and a paddle or boar-bristle brush, pulling each section taut from root to end. This step stretches the cuticle more than any other, which is why a strong blowout means fewer flat-iron passes later, per Glamsquad's technique guide.
- Flat-iron in small sections. Clamp each section once, glide smoothly from root to end, and resist the urge to go back over it. One clean pass beats three rushed ones.
- Finish and style. Bevel ends under with the iron's barrel, or wrap sections around a rod for curls, then apply a lightweight serum or shine spray to seal.
Here's how flat-iron heat should shift by texture. Start at the low end of your range and only increase if the hair resists.
| Hair Texture/Density | Recommended Flat-Iron Range | Notes |
|---|---|---|
| Fine, low density (3C-ish) | 320°F to 330°F | Higher heat is rarely necessary and increases breakage risk |
| Medium density (4A/4B) | 330°F | Adjust based on how quickly hair responds to the first pass |
| Coarse, high density (4C) | 350°F | Afro by Daisy recommends this range only after full drying and deep conditioning |
The comb-chase method, running a fine-tooth rat-tail comb directly ahead of the flat iron, evens out heat distribution and detangles in real time, according to the Brown Beauty Barber School. It is one of the easiest ways to avoid re-passing a section you already straightened.
Sam Villa's tutorial on Al Campbell's method emphasizes that small, methodical sectioning combined with one intentional flat-iron pass per section produces the smoothest, longest-lasting result, rather than repeated passes at higher heat.
Pro Tip: If your blowout is doing its job, you should only need one pass with the flat iron. If you find yourself going over the same section three or four times, the problem usually started at the blow-dry stage, not the iron.
How Long Does a Silk Press Last?
A silk press typically holds for a temporary period, though this duration varies with humidity, sweat, and hair porosity, according to Wavehouse Hair Studio. Higher porosity hair tends to absorb moisture from the air faster, which shortens that window considerably.
Nighttime care is where most of that longevity gets protected or lost.
- Wrap it. Use the classic silk press wrap technique, smoothing hair around your head and securing with clips before bed.
- Use satin or silk. A bonnet or pillowcase reduces friction that causes frizz and breakage overnight.
- Pin-curl the ends. For bobs or shorter styles, pin-curling instead of wrapping flat keeps bumped ends from falling out by morning.
- Skip the flexi-rod overload. Jumbo rods work for touch-ups but shouldn't replace a proper wrap most nights.
For quick touch-ups between full presses, start with a blow-dryer on a section that's reverted before reaching for the flat iron. If heat is still needed, keep it at the lowest effective temperature. Avoid heavy oils and anything involving steam or a sauna, both accelerate reversion instead of fixing it.
A rough timeline: Day 0 is your full prep and press. Days 1 through 7 are maintenance mode, wrap nightly, touch up sparingly. By week two or beyond, most people need a re-press or at least a root touch-up. If you notice excessive shedding, unusual dryness, or breakage at the ends, that's a signal to stop heat styling altogether and let your hair recover before your next silk press.
What Products and Tools Do You Need for a Salon-Quality Silk Press?
The right kit matters as much as the technique. Here's what belongs in it.
Products:
- Clarifying shampoo to remove buildup, followed by a hydrating shampoo for regular washes
- Protein or moisture-based deep conditioner, chosen based on whether your hair needs strength or softness
- Silicone-based heat protectant, applied to every section before the blow dryer touches it
- Lightweight finishing serum or shine spray rather than a heavy grease, which attracts humidity and speeds up reversion, per The Style Serum
- A light oil like argan or jojoba for sealing ends after the press is complete
Tools:
- High-velocity dryer with a concentrator nozzle
- Paddle brush or boar-bristle brush for tension during blow-drying
- A 1 to 1.25 inch ceramic or titanium flat iron
- Fine-tooth rat-tail comb for the comb-chase method
- Sectioning clips, at least six to eight
| Tool | Spec to Look For | Why It Matters |
|---|---|---|
| Flat iron | Ceramic or titanium plates, 1–1.25 inch width | Even heat distribution reduces the number of passes needed |
| Blow dryer | High-velocity dryer with concentrator attachment | Higher wattage speeds drying and improves tension |
| Brush | Boar-bristle or paddle | Boar-bristle adds shine; paddle brush adds stretch |
Brands like Mizani and L'Oréal are common references for heat protectants and finishing products because their formulas are built specifically around thermal styling for textured hair. If you're building out a broader kit, partner options like Tiger Catalyst from QAI Hair are also worth a look for texture-specific styling aids. Avoid dirty or pitted flat-iron plates, they snag hair and create uneven heat, and skip heavy pomades that sit on the strand and pull curls out of shape within a day.
What Are the Most Common Silk Press Mistakes?
Most silk press damage isn't inevitable, it comes from a handful of repeatable errors, according to Makeup.com. Fix these and the risk drops sharply.
- Skipping deep-conditioning. Correction: build it into your routine 24 to 48 hours ahead, not as an afterthought the morning of.
- Using too-high heat. Correction: start at the low end of your texture's range and only raise it if the first pass doesn't fully smooth the section.
- Multiple rapid flat-iron passes. Correction: if one pass isn't enough, the blowout needs more tension next time, not a hotter iron now.
- Pressing damp or product-heavy hair. Correction: wait until hair is 100 percent dry and free of buildup before the flat iron touches it.
- Heavy greases that cause reversion. Correction: swap to a lightweight serum or oil that seals without weighing hair down.
If you want to avoid frequent full presses altogether, rotating in low-heat styles or protective styles between silk presses gives your hair recovery time. Previewing a look on a virtual try-on before committing to a cut or a new part also cuts down on the kind of trial-and-error that leads to unnecessary heat sessions.
If you notice uneven reversion, visible breakage, or scalp irritation after a press, that's the point to stop experimenting solo and see a professional. Continuing to apply heat over compromised strands only compounds the damage.
Can You Preview a Silk Press Style Before You Heat-Style?
Yes, and it solves a real problem: you can't undo a bad haircut or a curtain-bang decision once the flat iron's already been through your hair. A virtual try-on shows you a realistic version of a style on your own photo before you touch a single tool.
Stylemycrown lets you preview more than 528 curated hairstyles across different textures, so you can line up a bumped-ends bob next to a curtain-bang look and compare them side by side. That comparison matters most when you're deciding on length, a new part, or bangs, decisions that are expensive and slow to reverse if you get them wrong in real life. Testing visually first is one of the more overlooked ways to cut down on heat-related trial-and-error.
Being able to see a silk press bob or curtain bangs mapped onto your actual face shape, before any heat touches your hair, removes most of the guesswork that leads to regret cuts and repeated re-styling sessions.
The free trial credits make this genuinely risk-free: try a handful of variations, narrow down what actually looks right on you, then commit to one plan of action instead of pressing your hair three separate times over a month to "see what works."
Recommended Silk Press Styles for Natural vs. Chemically Treated Hair
Natural, unprocessed hair and chemically treated hair respond differently under heat, and the best styles for each reflect that.
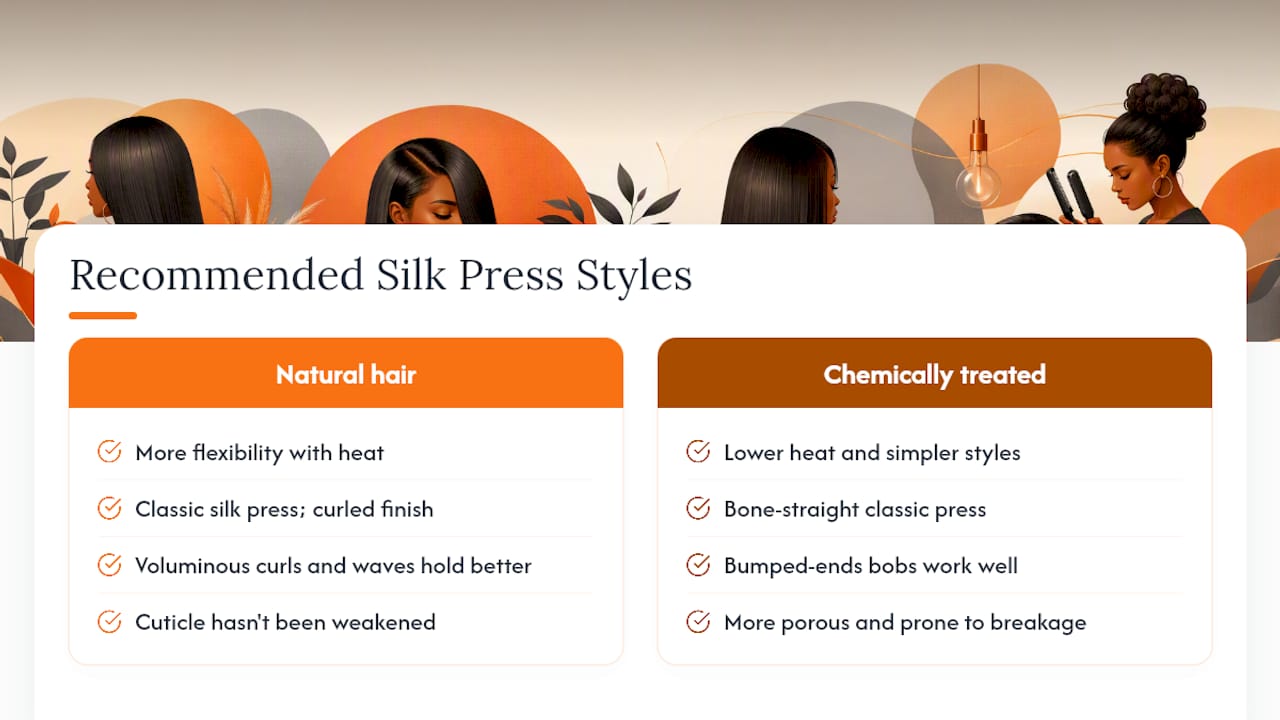
For natural hair, a classic silk press or a curled finish tends to work best because the cuticle hasn't been weakened by relaxers or color treatments, giving you more flexibility with heat within the ranges outlined earlier. Voluminous curls and waves also hold better on natural hair, since the strand's natural elasticity helps the curl pattern set once cooled.
For chemically treated hair, whether relaxed, colored, or both, lower heat and simpler styles are the safer route. A bone-straight classic press with minimal manipulation reduces added stress on strands that are already more porous and prone to breakage. Bumped-ends bobs also work well here because the style requires less overall heat exposure than a full curled finish. If your hair has been chemically treated recently, extending the gap between silk presses and leaning on deep conditioning more frequently protects what strength remains in the strand.
Author Note: Balancing Inspiration With Long-Term Hair Health
Silk presses are one of the most satisfying transformations in Black hair care, and I understand the pull toward trying every look in this guide back to back. But the styles that photograph best are rarely the ones that hold up under repeated heat exposure month after month.
My honest rule: space out high-heat silk presses to a frequency your hair can actually recover from, and test a lower temperature before defaulting to the top of any range. If your hair responds well at 330°F, there's no reason to reach for 380°F just because a chart lists it as an option. The goal isn't the most dramatic straightness you can achieve once. It's a style you can repeat safely for years.
Christelle believes the best silk press is the one that still looks healthy on your fifth try, not just your first.
Try Silk Press Looks Risk-Free With StyleMyCrown
Stylemycrown skips the guesswork that comes with committing to heat before you know how a style actually looks on you. It's a virtual try-on tool built specifically for Black hair, with more than 528 curated styles across textures, and it starts with 10 complimentary credits so you can experiment before spending a dime.
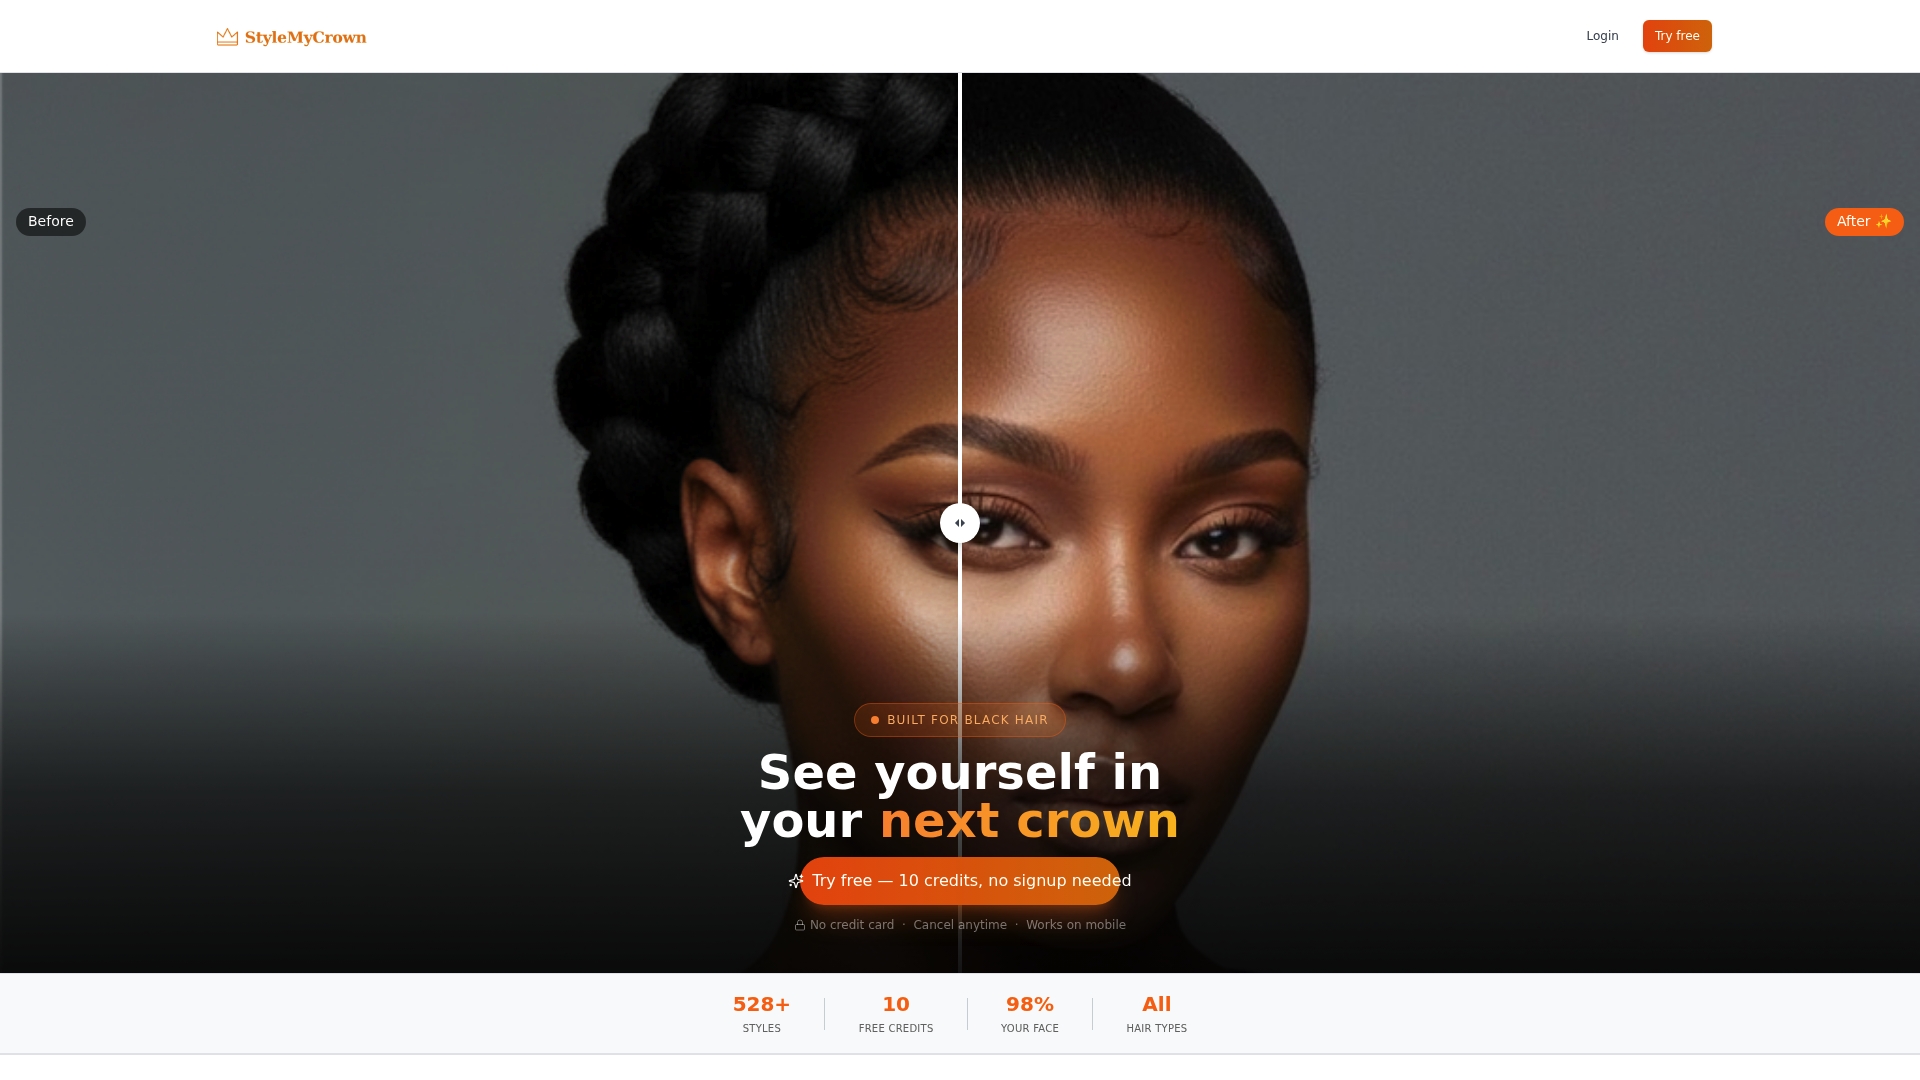
Use those free credits to line up a bumped-ends bob against curtain bangs, or see how a voluminous curled finish reads on your face before you ever pick up a flat iron. It's the difference between guessing at a cut and knowing how it'll look first. Browse the style catalog to start previewing looks, and when you're ready for a professional press, the stylist catalog connects you with someone who can bring the style to life without unnecessary heat sessions along the way.